Monday, March 12, 2012

{kitchen adventures} Chocolate Covered Cinnamon Bears- or as I like to call them: Crack.


Life is full of little mysteries. Which came first, the chicken or the egg? Did London Bridge ever fall all the way down? Which armrest is yours at the movie theater? And most importantly, WHY are two seemingly unmixable ingredients -chocolate and cinnamon bears- so delicious together? I don't think that last question can ever truly be answered. It just doesn't make sense, and it never will.

Either way, it was a gorgeous spring day, the little man and I went out on a picnic, and this was the perfect after-lunch treat. (He has to wait until he's older though, which is fine by me. Until then, I'll eat enough for the both of us.)

These are super simple to make. I've seen recipes that involve corn syrup and a lot of ingredients, but I made them by simply melting Baker's Milk Chocolate squares, and dipping the cinnamon bears in, then laying them on wax paper to cool. Easy peasy, lemon squeezy.

Try them sometime! I'd share, but I'm about to eat the whole bowl while catching up on Once Upon a Time. Yum.


{kitchen adventures} Homemade Baby Food Pouches With Fruits and Veggies.

Don't have a baby or toddler like this one? You should get one; they're great! In the meantime, these recipes can also make yummy, healthy fruit yogurts and smoothies for grown ups.


Pink Puree and Green Puree. Yum!


 Recently, we ran into a big problem. My veggie-loving baby turned into a toddler and decided to boycott anything that isn't a cracker or a banana.  I tried making veggies look like crackers. They were thrown on the floor. I tried baking them into crescent rolls. Those got picked out. I added them to soups and chilis. They were eaten around, and (I know it seems impossible, but)  I got sick of having chili every night. Pureeing vegetables and hiding them in pasta sauce was working alright, but giving my kid noodles and pasta sauce at every meal wasn't sensible either. 

I started buying these pouches from HAPPYBABY Organics,  and he loved them! But $2 a pouch can really add up, and my granola-loving side was concerned about feeding him processed food that wasn't homemade. I tried to make veggie purees like I did when he was just starting solids, but he didn't care for the taste, and he wasn't interested in anything he couldn't easily eat with his bare hands. 
Then a friend mentioned that she makes fruit and veggie combo purees and feeds them to her toddlers in squeeze bottles, so I decided to give it a try. I was only able to find a couple different products made specifically for squeezing out purees, and eventually decided on "The Sili Squeeze" reusable pouch, after another acquaintance ordered some for her children. For the record, this thing is awesome, and I would highly recommend it to anyone who wants to feed yogurt, purees, or smoothies on the go.

Now that I had the pouch, it was time to go to work. I started experimenting, and came up with these recipes, which all turned out to be big hits with the little guy. Every puree listed tastes like fruit rather than vegetables. And check out the colors! What kid doesn't love colorful food?

Pink Puree  (Loaded with Vitamin C,  Vitamin A, Iron, Potassium, and Calcium)
3 bananas
1 lb ripe strawberries
1 medium red beet


Green Puree  (Lots of Iron, Vitamins C & E, and Beta-Carotene)
5 medium pears
1.5 cups fresh baby spinach
2 mangoes

Orange Puree (A little bit of everything, rich in Omega-3s) 
5 medium yellow peaches
2 medium carrots
1/2 cup diced pineapple
1 banana
3/4 cup spinach
1 medium avocado


Purple Puree  (Tons of antioxidants, Iron, and Vitamin A)
4 bananas
6-8 oz fresh or frozen (no sugar added) blueberries
1 medium red or white beet


Prep: Once you have your ingredients, wash them. Remove peels, cores, and pits, and dice large fruits and veggies into 1-2 inch cubes. Defrost any frozen fruits.


Spinach, mangoes, and pears ready for steaming.

After 10 minutes, it's ready to go!


Steam: Spinach and anything firm (consistency of an apple) needs to be steamed. Any fruits that are very ripe should puree easily without steaming, but when in doubt, I just throw them in the steamer. Check periodically to make sure fruit isn't turning brown. Beets could take upwards of 30 minutes to steam, but anything else should be done steaming in 8-10 minutes.


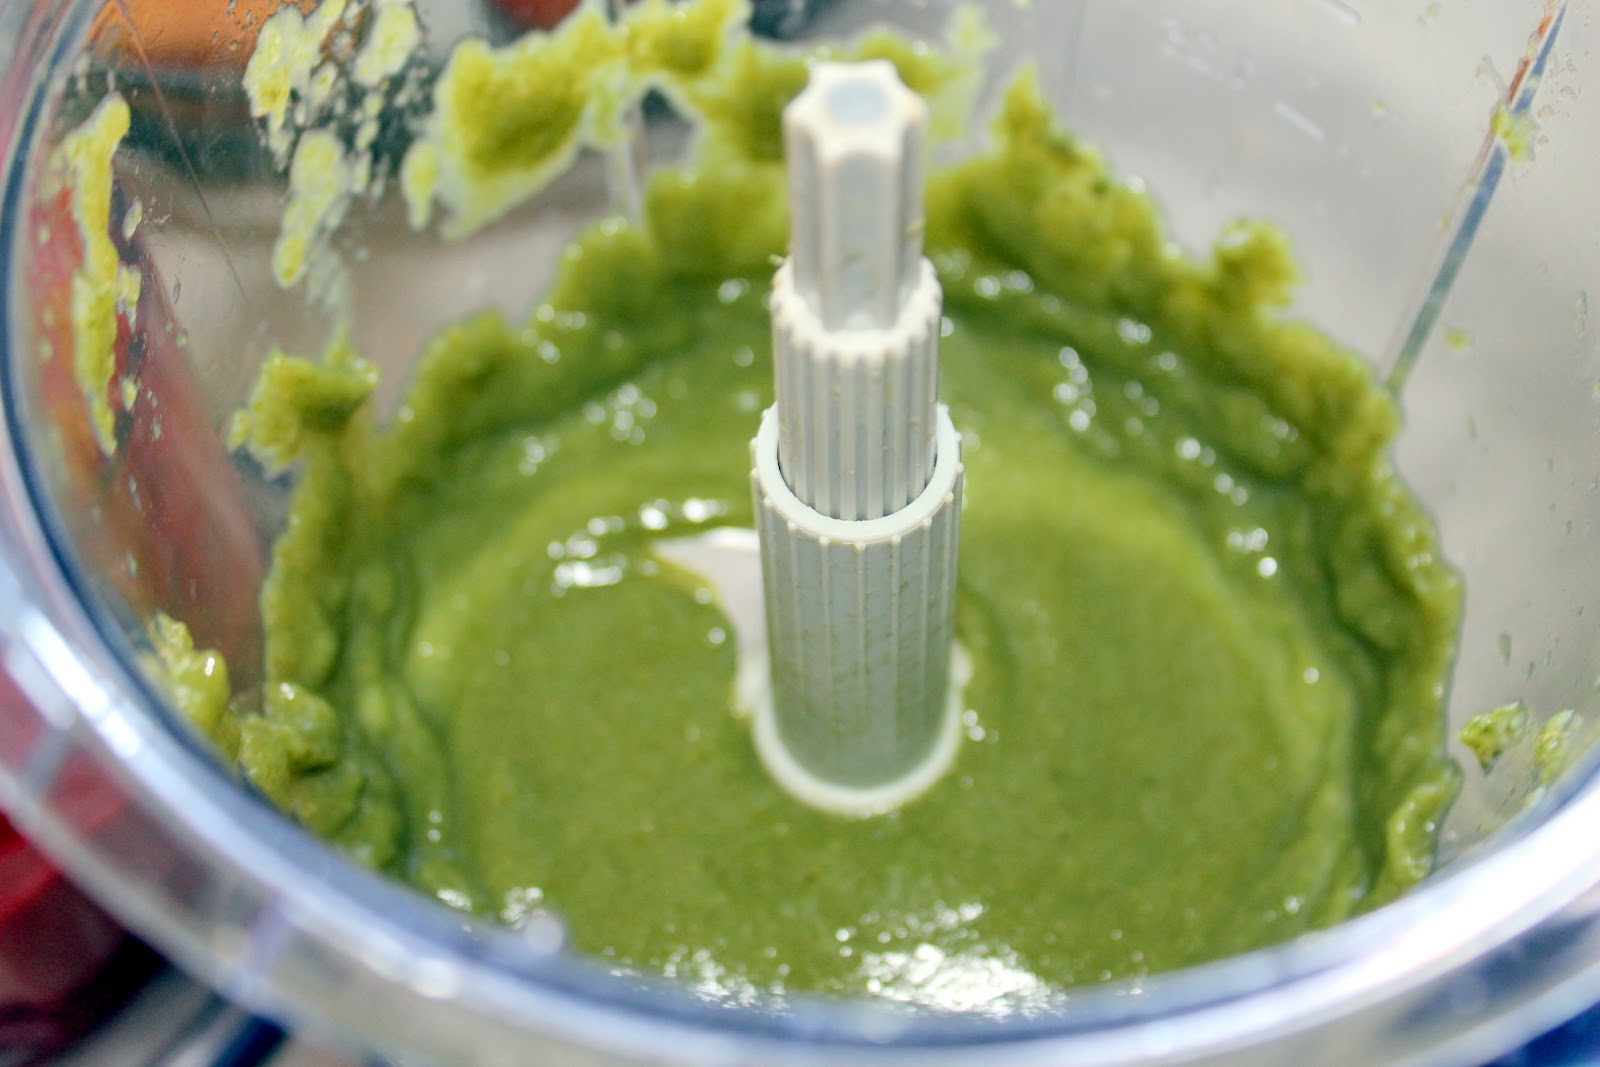
Blend: After everything is steamed until tender, place fruits and vegetables into a blender or food processor and process until you reach a smooth, uniform consistency.


Pink Puree, finished and ready for storage.


Store: For food safety, it's recommended to immediately freeze any fresh purees you won't be using within 24-48 hours. One popular method is to make the purees into "ice" cubes using an ice cube tray, and transferring to a freezer bag within 12-24 hours. There are also products made specifically for freezing baby food, but I prefer 1/2 cup gladware containers. You can pick up 8 of these for about $2. I also like to transfer frozen purees into a freezer bag to save space. 


Feed! You've got several choices here, as there are lots of ways to prepare these.


For homemade baby food pouches: it's time to defrost these puppies and toss them into a squeeze bottle. *WARNING: Kids might ask to repeat this step multiple times. When I serve this as part of a meal, I just defrost the puree in a bowl and let him practice using his spoon to eat it. Either way, he can't get it into his mouth quickly enough.

Quick and easy smoothie: To change things up, mix 50/50 with some plain greek yogurt and your toddler's milk to add protein. Just leave the puree frozen and toss everything in a blender or food processor. For added carbohydrates or iron, toss in a few tablespoons of baby oatmeal. These are great for adult smoothies too, just try not to keep all the fruity goodness to yourself.

Healthy fruit yogurt: I've also stirred these into greek yogurt to make a healthy, homemade fruit yogurt for myself or the little man.


Sunday, January 29, 2012

{kitchen adventures} Egg Rolls!


So, we seriously love our Asian food up in this house, but we're not too crazy about the extra sodium, MSG, and fat that's found in most takeout. I love to make mine from scratch, and these egg rolls are probably my favorite kitchen creation. They're very filling (1 or 2 can make a meal), leaner than takeout, and we can easily feed 4-5 people for around 8 bucks. The only thing my family loves more than Asian food is stretching our money a little bit further, so you can imagine that these are a big hit.

I love to make this meal for get-togethers, and after being asked dozens of times for the recipe, I figured I should just post it here.

Homemade Egg Rolls

What you'll need: 


Bagged "coleslaw mix" salad (shredded red/green cabbage and carrots)
Fresh mung bean sprouts
Green onions
Tofu or some type of cooked meat, poultry, or seafood, leftovers are great (I often use chicken breast.)
One package (about 12) egg roll wrappers
2 eggs
Dried ginger
Oil for frying

This recipe is so flexible. You can add or remove any kind of vegetables you like for the filling. Shiitake mushrooms also make a great addition, or a substitute for meat. To save money, a half head of cabbage can be used in place of the pre-cut coleslaw mix.


 Cut the meat or tofu and onions into bite-size pieces and toss into a large mixing bowl.

Repeat with the cabbage.

Cut the bean sprouts more coarsely, leaving each sprout in halves or thirds, and add to the bowl.

Add two eggs and mix.

 Sprinkle on ginger, until you can just start to smell it (about 2-3tsp). Mix.

 Pour about one inch of oil into a tall pot and heat to 345 degrees farenheit. If you don't have a thermometer, medium-high is a good place to start.

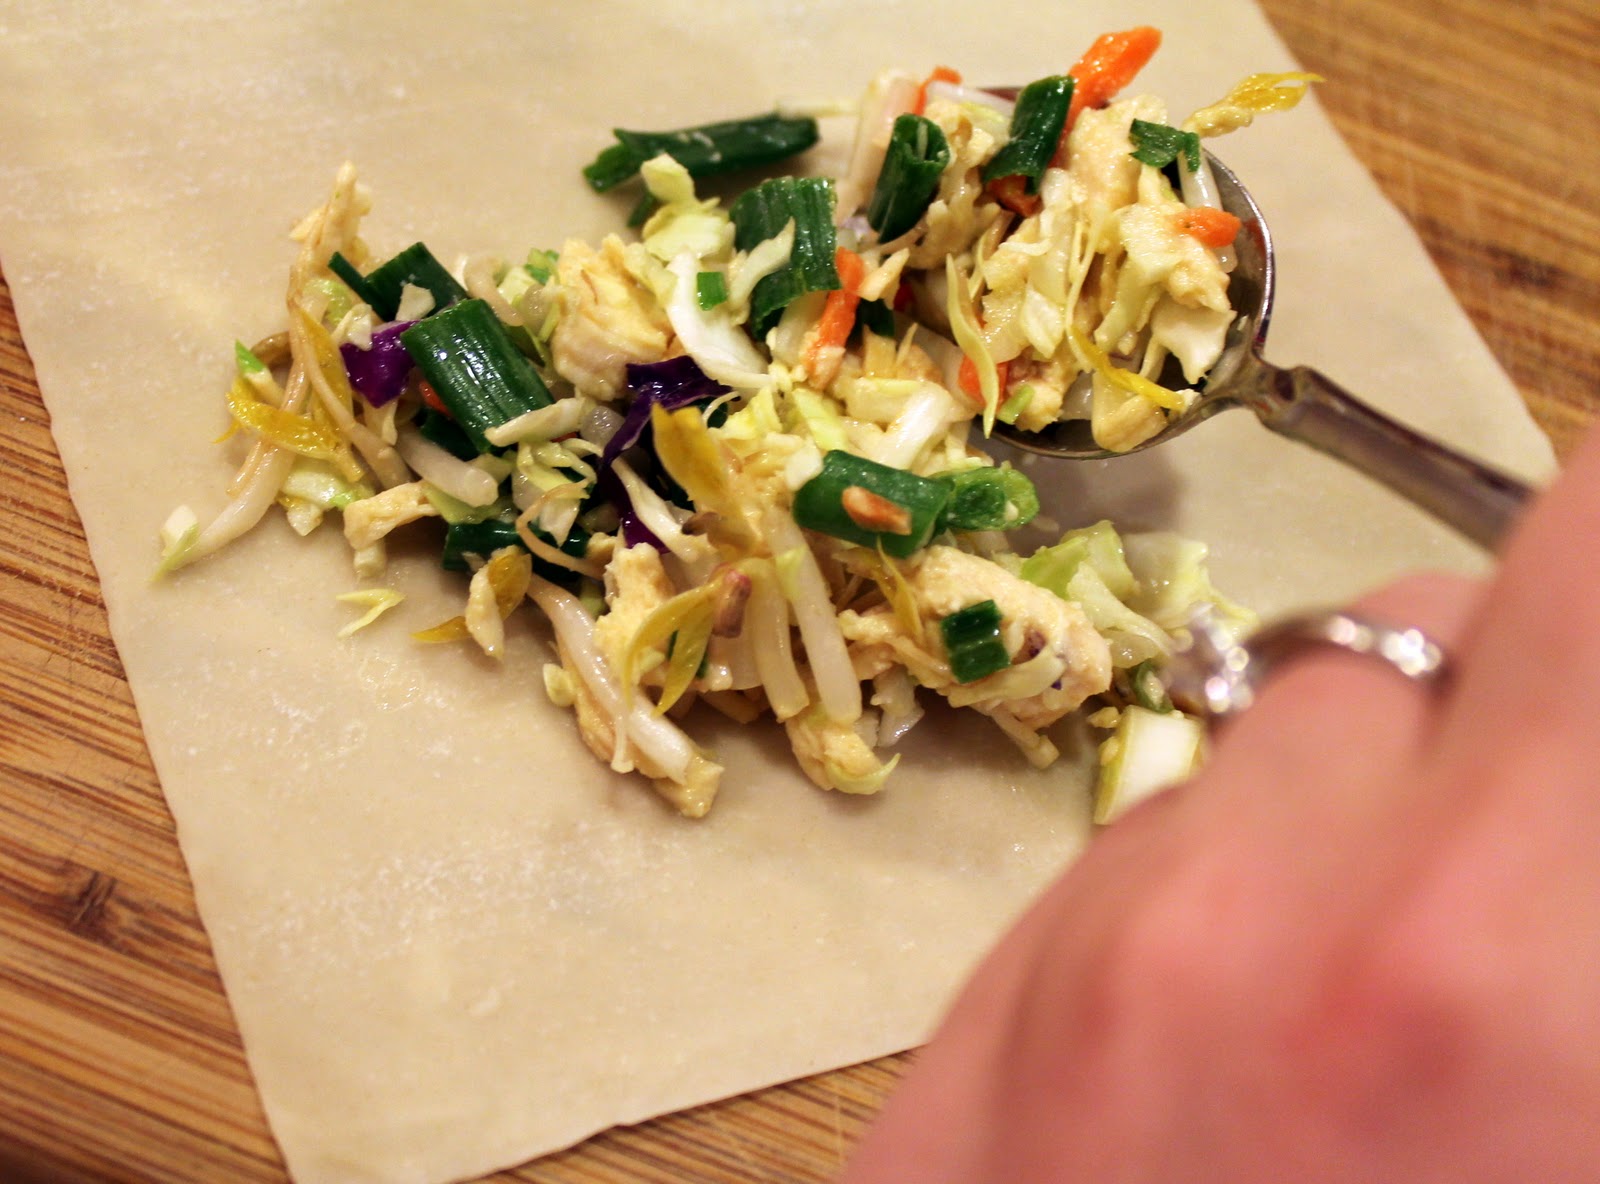
While the oil is heating, wrap your egg rolls. Put the wrap so that it makes a diamond shape and fill just below the center of the wrap. You want enough filling to make them full, but they will break if you overfill them. I use 3-4 heaping spoonfuls, about 1/4-1/3 cup. Instructions for wrapping are also usually on the package.

Grab a small bowl of water to wet your fingertips. Use them to moisten the entire outside edge of the wrap.

 Fold your left and right corners in first.

Then fold the bottom edge.

Starting at the bottom, roll the wrap tightly up, moistening the top corner once more.

You should now have something resembling this:

 Once wrapped, use tongs to place each egg roll into the oil. 
Tip: If you don't use a thermometer, test the oil by dropping in a tiny piece of an egg roll wrapper. If it bubbles up, it's ready; just make sure it doesn't burn immediately.

After about one or two minutes, the bottoms should be browned. Flip each roll when this happens.


Cook an additional 1-2 minutes, until bottoms are browned and cool upright over paper towels.


Serve with rice and sauce for dipping. This one is to-die-for. Cook them for someone special and prepare to be in their good graces!


Monday, January 9, 2012

{kitchen adventures} Owl Smash Cake Tutorial

Hoot!

It took me  a while to put this up here, because I like to pretend I still have a chubby little baby who coos at me, rather than a destructive toddler who tears through the house at top speeds, jumps on the pets, and calls me by my first name. 
Anyhow, I got the idea for this cake from this photo I saw on pinterest. My version was so easy to do, I thought I'd share it.

First, grab your bakeware and grease it up! Cans work awesome. This one was a 28 ounce can of tomatoes in it's previous life. You can use the can by itself, because your cake will naturally bake up into a head shape, and you'll only need one piece. I just preferred to have shoulders on my cake*. If you want shoulders too, a 1 cup glass bowl is the perfect size for Mr. Owl's head.


(* Also I'm lying. I didn't think ahead and assumed my can cake would bake flat.)
Bowl Cake and Can Cake (with top already cut flat). Trust me, it's tastier than it sounds.

You'll also need:
  • Cake batter. This one is carrot, but I hold no grudges to anyone who prefers chocolate or yellow cake. Red Velvet however, just march yourself on out of this blog right now.
  • Two , make that 10 chocolate sandwich cookies, in case you mess up, or need to eat one or four.
  • Frosting, in 2 colors, and some kind of piping tool. I used the "spray can" frosting that already comes with tools, like this one
  • Toothpicks or drink stirrers.
  • A hungry birthday kid.
After baking, use a knife to loosen the can cake and plop it down on a paper plate. Cut two small triangles at the top where the wings and chest will separate. Cut them all the way down the body, widening a little bit as you get toward the bottom.


It doesn't have to be perfect since you're frosting it.
 Now frost the chest by making little dots with a star tip on a frosting pipe. Make the dots bigger toward the top, so he can have a puffy bird breast.


Frosted body.
 Finish the back side, but leave the wings naked for now. I got lazy with the back of my bird and just frosted lines. Grab your second frosting color and frost the wings the same way you did the chest.


Now, put some frosting on top where you'll stick his head on.


Stick on your second cake.

Frost the face and head, making two points on top like cat ears.

Halve two cookies and cut one top in half like this. It might take a few tries.

Lay the cookies facedown. (I swear my countertop is clean.) Use a toothpick, kabob, or drink stirrer to poke a small hole in the middle of each. Go slowly, or they'll break and you'll just have to eat them.


Put a toothpick or drink stirrer through the holes you just made to hold the eyes on the owl. But for goodness sake, pull the sharp objects out before you give it to a hungry baby to smash.


Don't let the children see him like this...

 
Cover toothpicks by frosting on some pupils. I just noticed this photo is looking rather...um, ...feminine.


Frost on a cute little beak.


White chocolate chips make great spots for his wings.

Move him to the top of your cake, or onto a plate- wherever he'll be staying permanently- and you can frost some toes onto his front.

And a little triangle for his tail.


Take  the cookie halves you made earlier, and stick them behind his eyes to look like the photo, add a candle, and give to a hungry birthday kid!


 Let the smashing begin!
And seriously, don't forget to pull out those toothpicks!