

I swore I'd never be one of those parents who decked their daughters out in tons of flowers and bows.

But that was before I had a daughter.
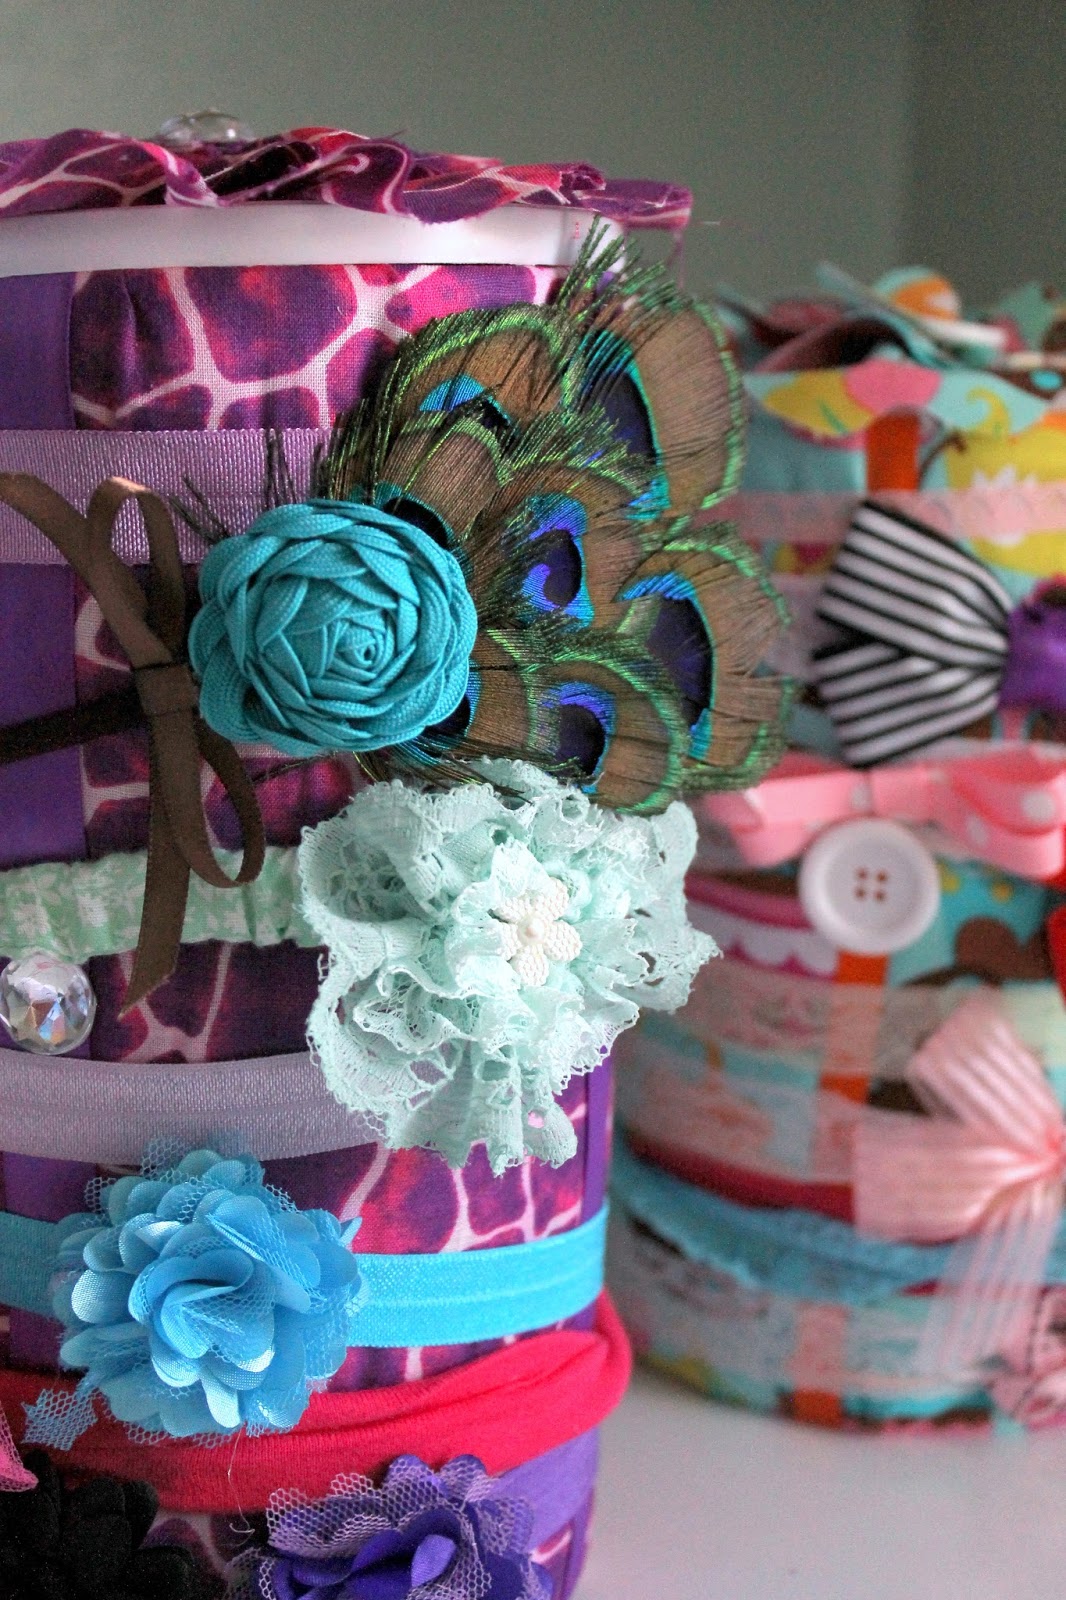
Now, I want her to have ALL THE HAIR DECOR. It's a difficult feeling to explain, really.

But, I needed a way to organize these things so I can see each one. Cue the Pinterest search. I found several methods that involved wrapping scrapbook paper around various canisters, and this is just my take on those. This craft is easy enough for beginners, and I was able to make both canisters in about 45 minutes.
Here's the tutorial if you'd like to play along.

{what you'll need}
- empty food canisters with lids (I used oatmeal and soy protein containers)
- scraps of fabric
- quilt batting (I had medium loft)
- ribbon
- other embellishments (buttons, gems, brooches, etc)
- hot glue gun
{what to do}
Start by wrapping your clean, empty canister in quilt batting. Cut a strip long enough to wrap around, and make it just a bit shorter than the height of your canister, so the lid will still fit.

Secure with hot glue.

Repeat this step with your fabric, but make it just a bit longer than your canister (see picture). A half inch on either side should do.


Secure with your hot glue, wrapping extra length around the top and bottom of your canister, as pictured.
Time to decorate the lid. Start with a strip of fabric as wide as the radius of your lid (see photo). Mine was 30 inches long. If you don't have 30 inches, you can always attach two or more strips while you work.
 |
That really faint pencil line is the radius. Fold your fabric to make a pleat on one end, making the top of the pleat wider than the bottom. Secure at the bottom with a drop of hot glue. |

Make a second pleat on top of the first. Secure again with glue.

Just keep doing this.

Eventually you'll have a circle. Trim that extra part off of the top and tuck the edge under.

Take the remainder of your fabric strip and trim off a good 1.5 - 2 inches so you have a narrower strip.

Start a fan fold at the end of one strip. Stop after every fold to put a small dab of glue in each little pocket on ONE SIDE ONLY, as pictured.

In my example I'm using the left side. You can see a small dab of glue toward the top, in an open pocket.

After several folds, your strip should look like this. I made 15 folds.
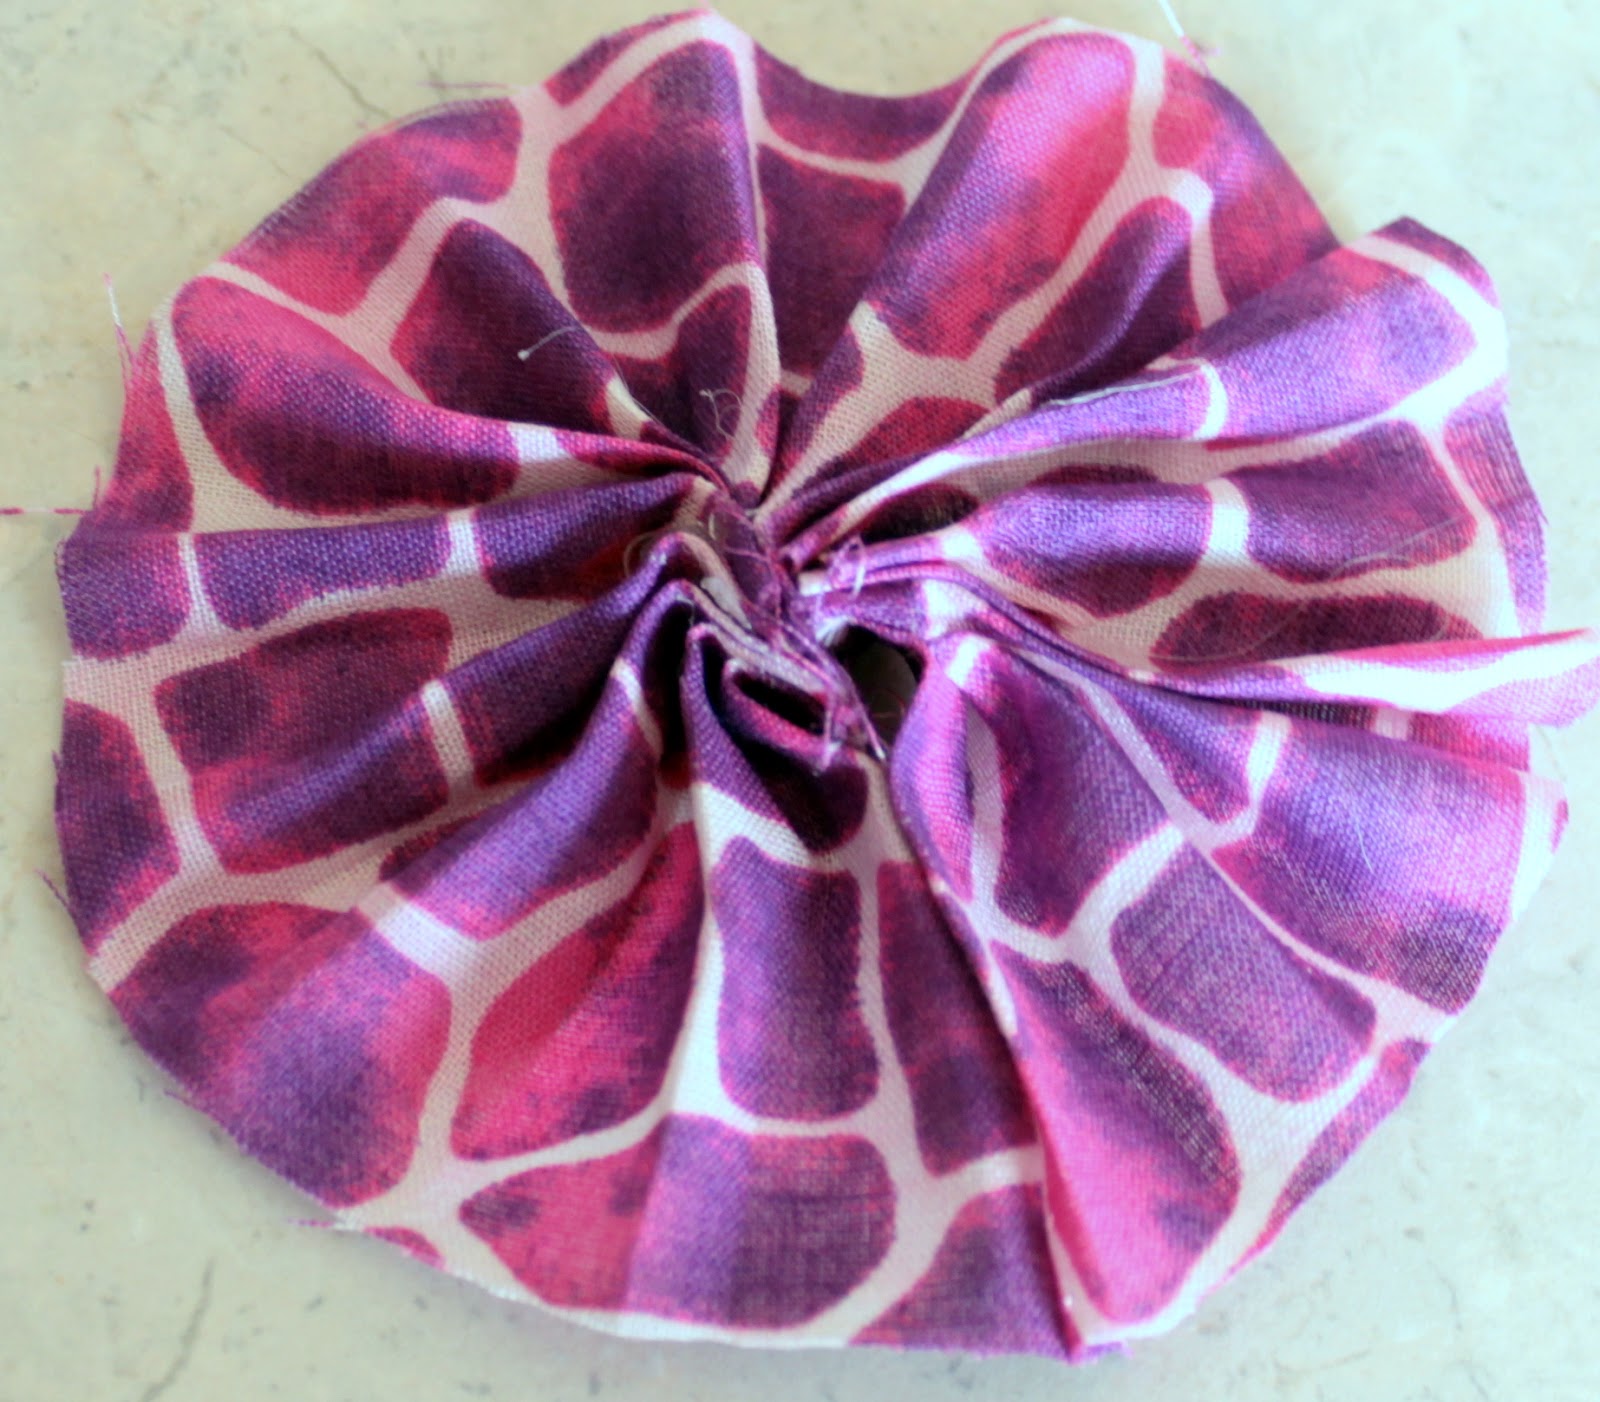
Once you've made several folds, bring the open ends together and secure them using your hot glue.

Glue this on to your big circle, and glue the big circle on to your lid.

Embellish the center.

Almost done!
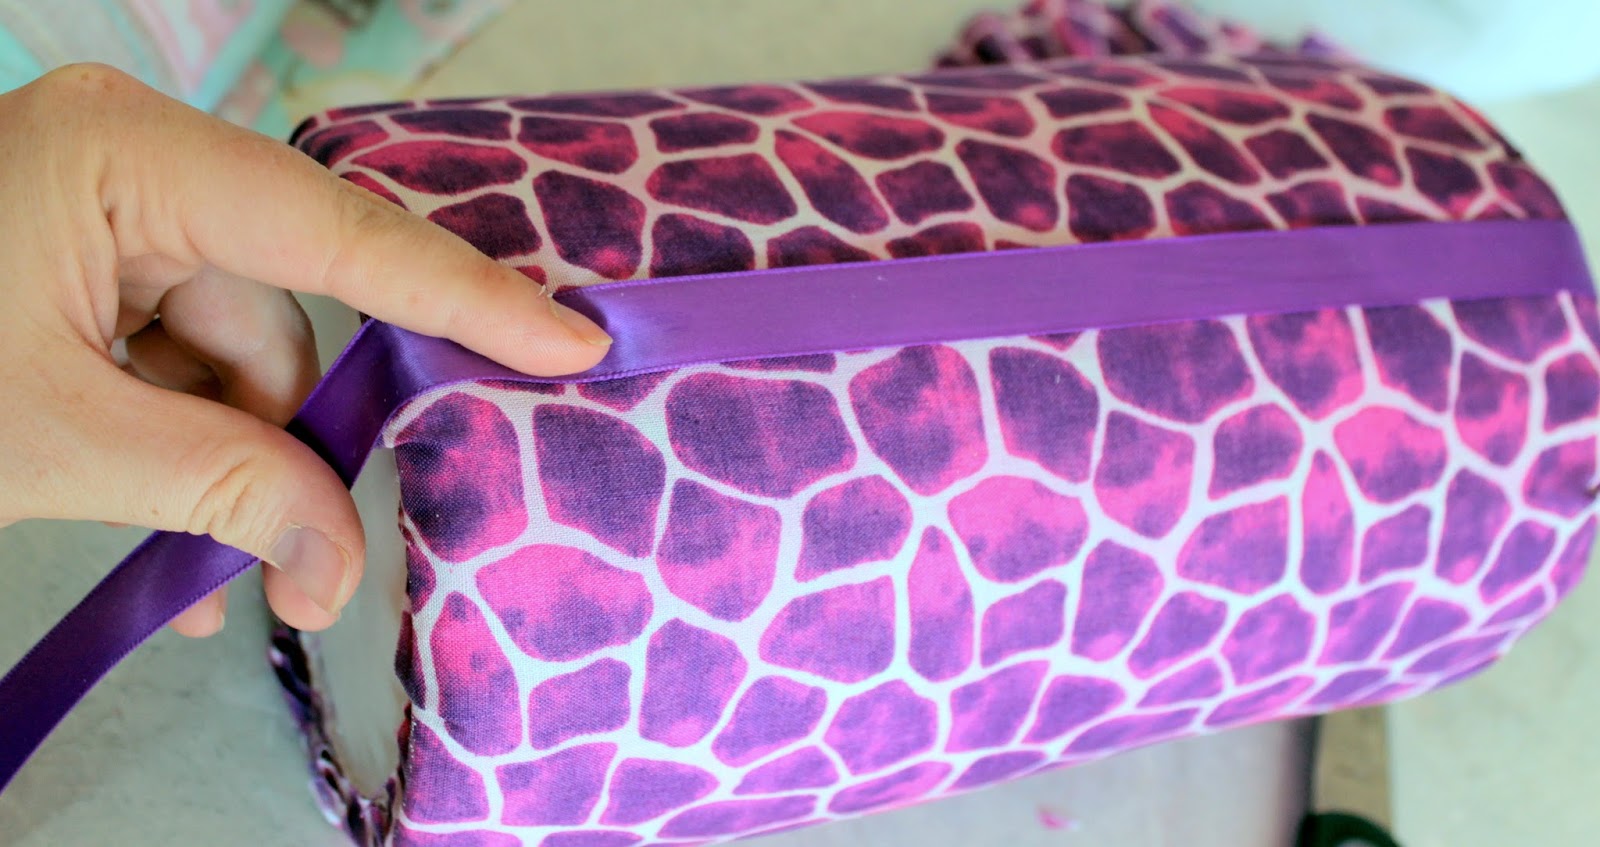
Measure a strip of ribbon about an inch longer than your canister. Cut 4 strips this length.

Might as well cover that seam while you're at it.

Wrap one end of the ribbon over the top of the rim and secure it down with glue. Pull it taught over your canister, wrap the other end around the bottom, and glue.

Repeat this step with your remaining ribbons, gluing them at approximately 12:00, 3:00, 6:00, and 9:00 on the canister.

Besides covering the seams, these are great for pinning barrettes and hairpins.

Add another embellishment on the center of each ribbon strip, and you're done!

You can wrap headbands around this, pin clips to the ribbons, and use the inside of the canister for small hair ties or other accessories.

Or in my case, all the other headbands I didn't have room for.

Flower variation for the lid:
For a different look, I traced my lid on to the wrong side of my fabric, then cut out random cloudlike shapes to make a piece that's larger than the lid.

I did this again, but made my second little cloud about the size of my lid.

Repeat until you have 5 little cloud shapes, each one smaller than the last.

Layer them on your lid, starting with the largest cloud, and finishing with the smallest, gluing each layer down as you go. Embellish the center, and you're finished.

Now, throw some headbands over these puppies and get ready to feel a bit more organized!


