Showing posts with label toddler. Show all posts

Wednesday, July 24, 2013

{getting crafty} DIY Headband Organization (and Tutorial)


I swore I'd never be one of those parents who decked their daughters out in tons of flowers and bows.  


But that was before I had a daughter.
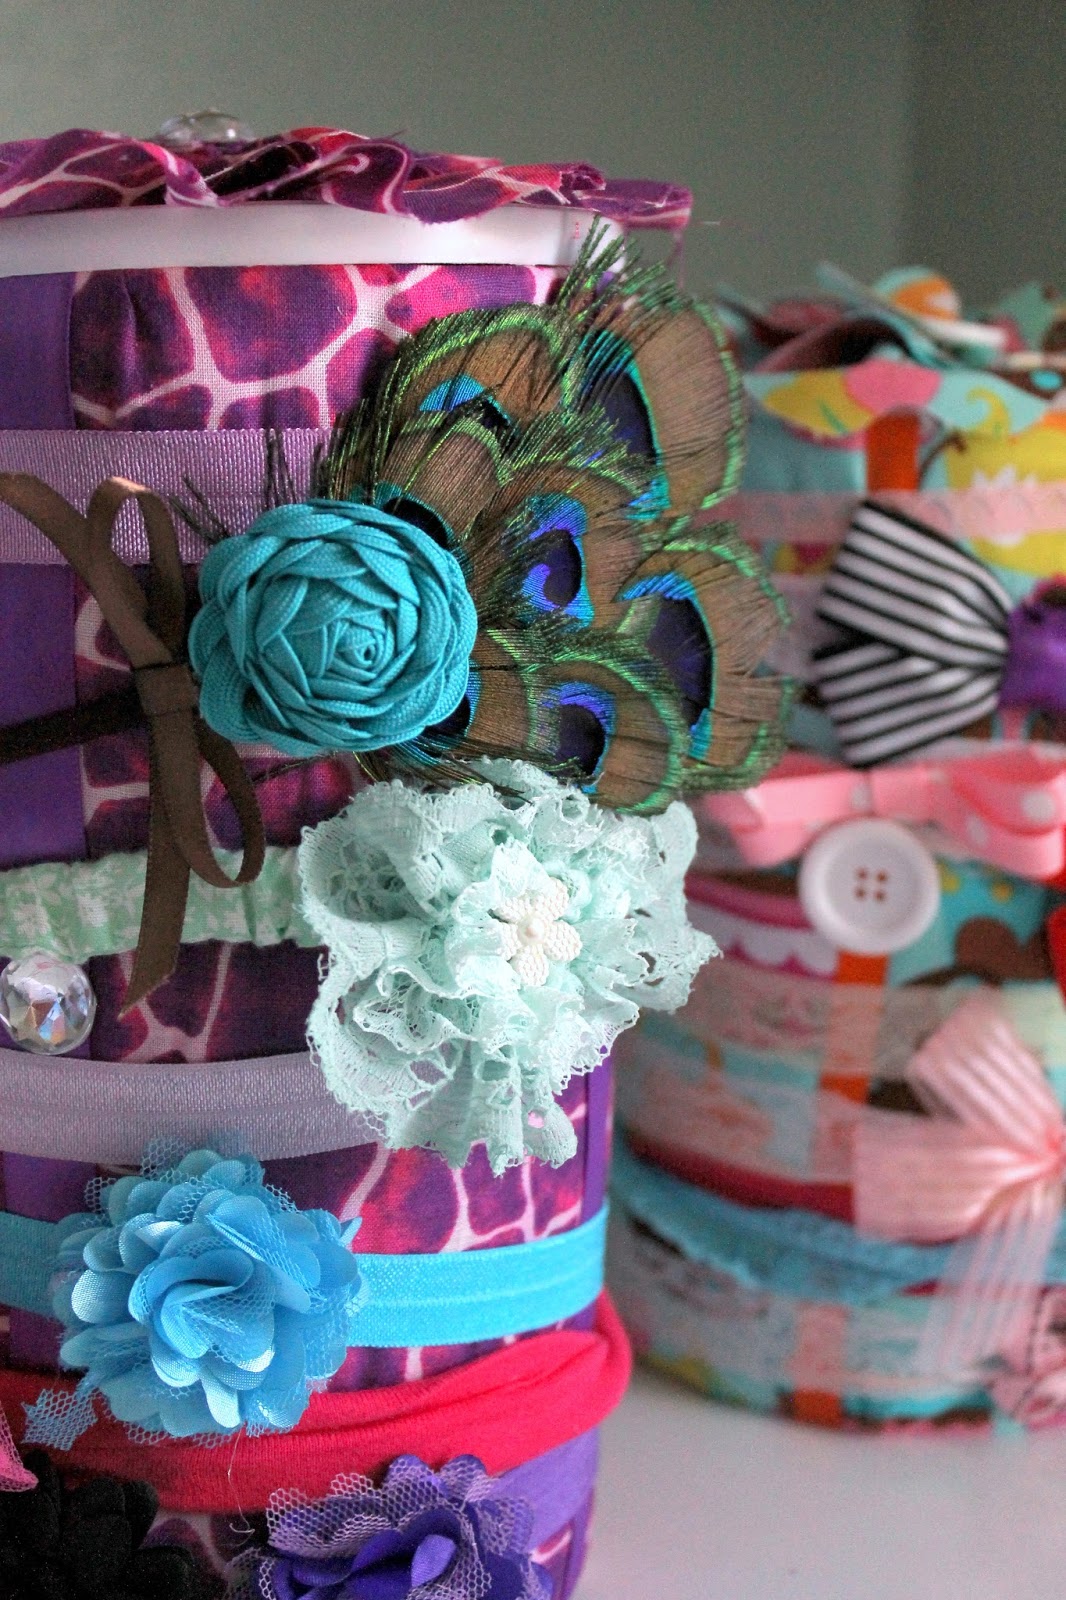


Now, I want her to have ALL THE HAIR DECOR.  It's a difficult feeling to explain, really.


But, I needed a way to organize these things so I can see each one. Cue the Pinterest search. I found several methods that involved wrapping scrapbook paper around various canisters, and this is just my take on those.  This craft is easy enough for beginners, and I was able to make both canisters in about 45 minutes. 

Here's the tutorial if you'd like to play along.


{what you'll need}
  • empty food canisters with lids (I used oatmeal and soy protein containers)
  • scraps of fabric
  • quilt batting (I had medium loft)
  • ribbon
  • other embellishments (buttons, gems, brooches, etc)
  • hot glue gun


{what to do}

Start by wrapping your clean, empty canister in quilt batting. Cut a strip long enough to wrap around, and make it just a bit shorter than the height of your canister, so the lid will still fit.


Secure with hot glue.


Repeat this step with your fabric, but make it just a bit longer than your canister (see picture). A half inch on either side should do.


Secure with your hot glue, wrapping extra length around the top and bottom of your canister, as pictured.


Time to decorate the lid. Start with a strip of fabric as wide as the radius of your lid (see photo). Mine was 30 inches long. If you don't have 30 inches, you can always attach two or more strips while you work.

That really faint pencil line is the radius.


Fold your fabric to make a pleat on one end, making the top of the pleat wider than the bottom. Secure at the bottom with a drop of hot glue.


Make a second pleat on top of the first. Secure again with glue.


Just keep doing this. 


Eventually you'll have a circle. Trim that extra part off of the top and tuck the edge under.


Take the remainder of your fabric strip and trim off a good 1.5 - 2 inches so you have a narrower strip.


Start a fan fold at the end of one strip. Stop after every fold to put a small dab of glue in each little pocket on ONE SIDE ONLY, as pictured. 


In my example I'm using the left side. You can see a small dab of glue toward the top, in an open pocket.


After several folds, your strip should look like this. I made 15 folds.
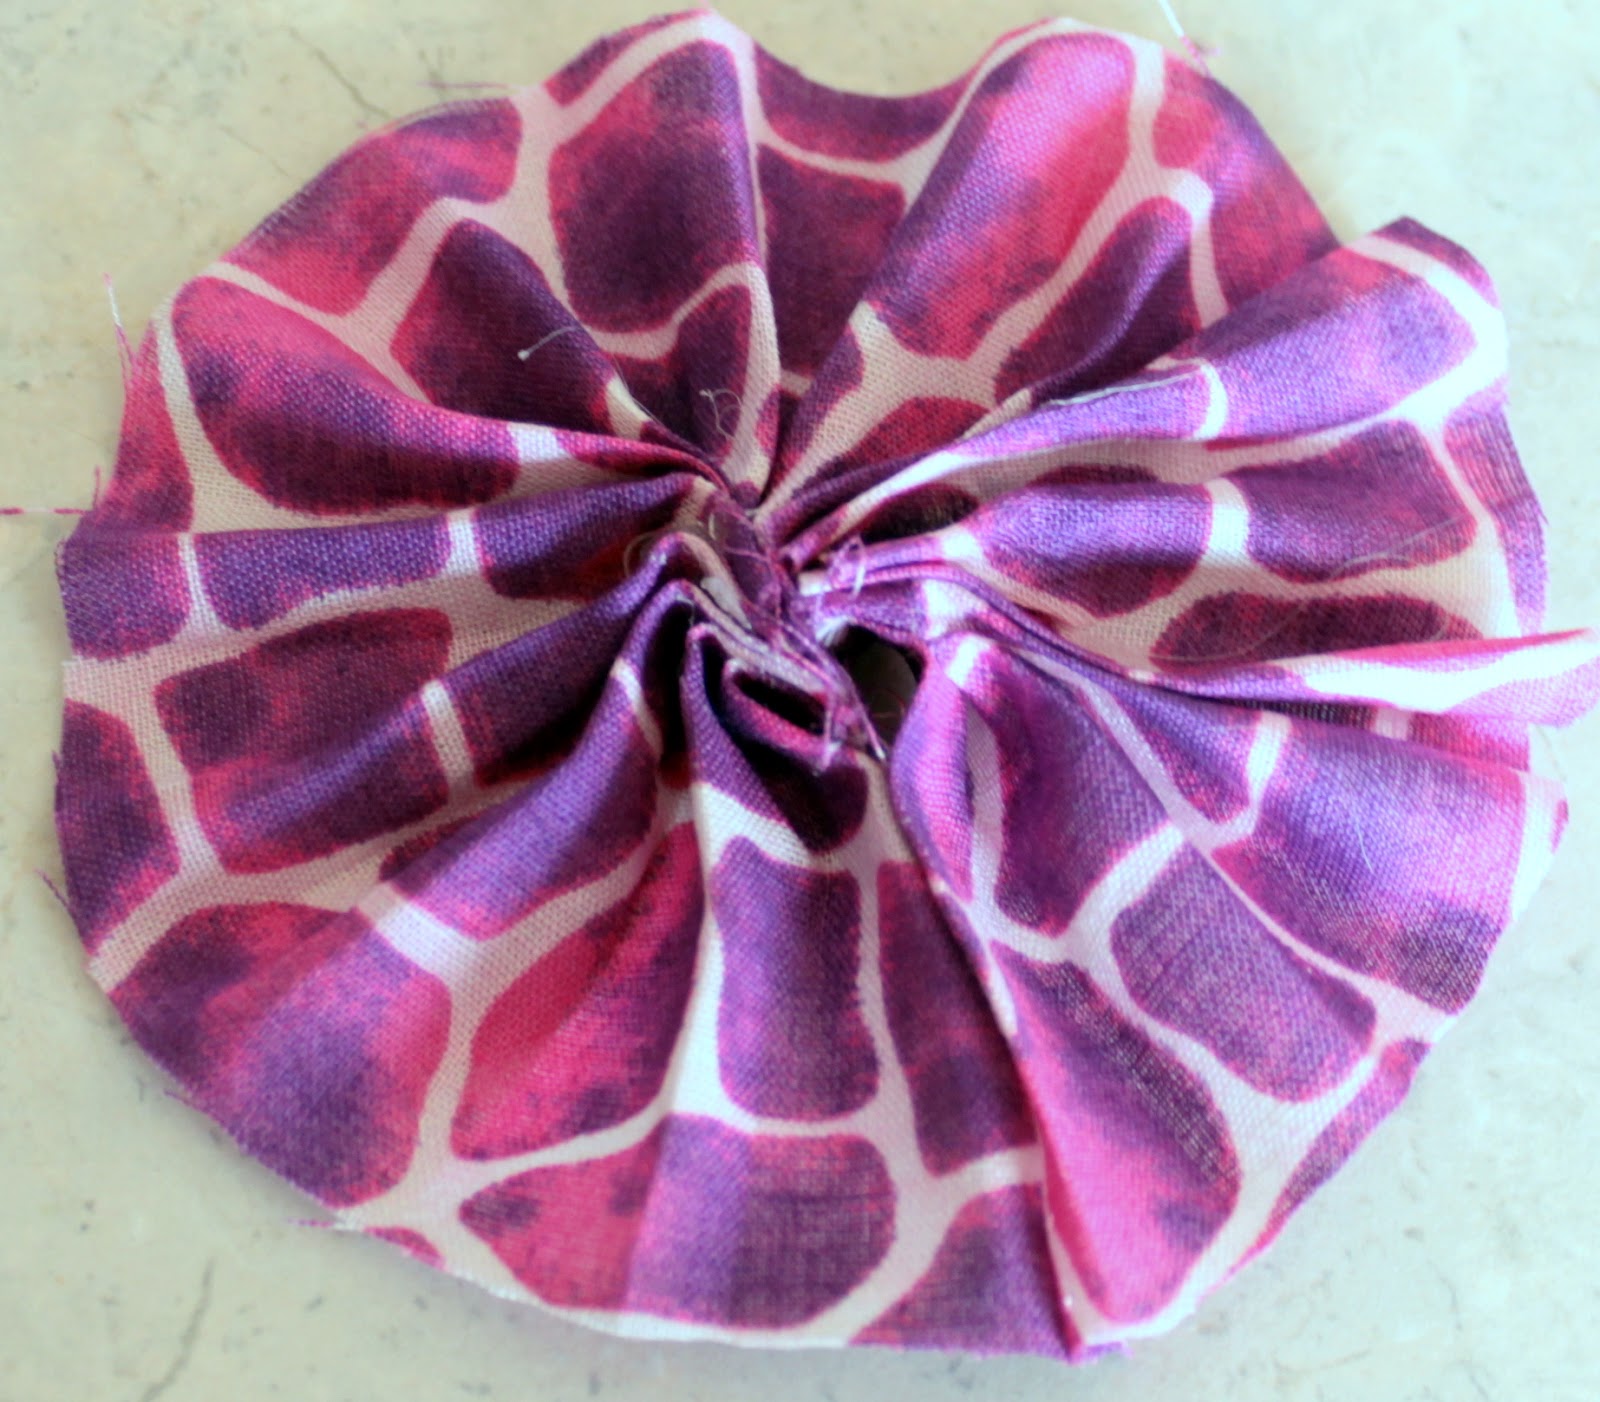


Once you've made several folds, bring the open ends together and secure them using your hot glue. 


Glue this on to your big circle, and glue the big circle on to your lid. 


Embellish the center.


Almost done!
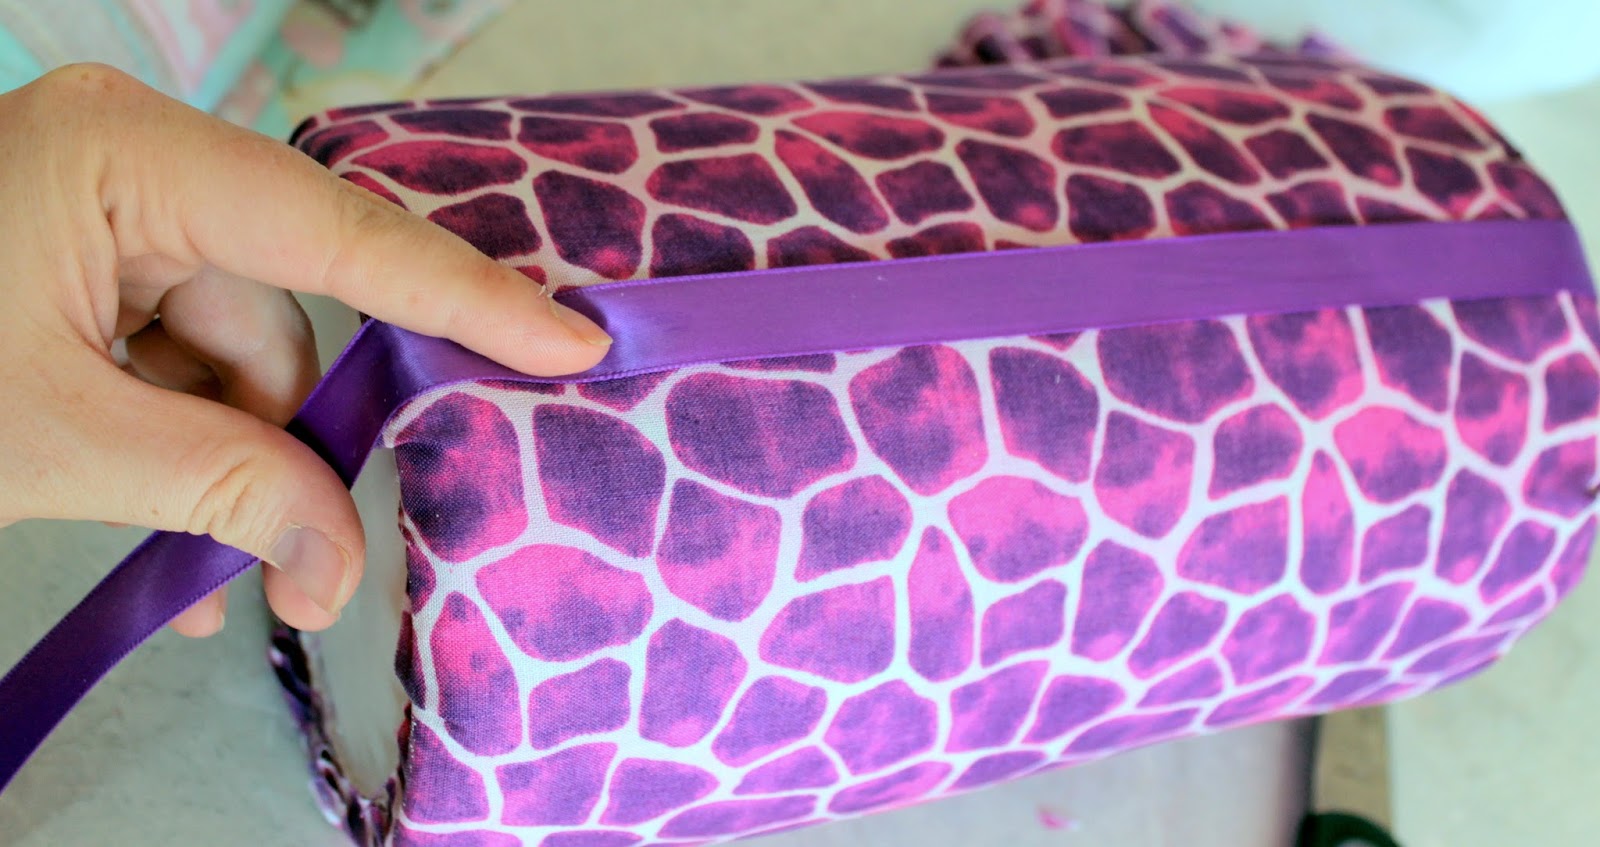

Measure a strip of ribbon about an inch longer than your canister. Cut 4 strips this length.


Might as well cover that seam while you're at it. 


Wrap one end of the ribbon over the top of the rim and secure it down with glue. Pull it taught over your canister, wrap the other end around the bottom, and glue.


Repeat this step with your remaining ribbons, gluing them at approximately 12:00, 3:00, 6:00, and 9:00 on the canister.


Besides covering the seams, these are great for pinning barrettes and hairpins.


Add another embellishment on the center of each ribbon strip, and you're done! 


You can wrap headbands around this, pin clips to the ribbons, and use the inside of the canister for small hair ties or other accessories. 


Or in my case, all the other headbands I didn't have room for.


Flower variation for the lid:  

For a different look, I traced my lid on to the wrong side of my fabric, then cut out random cloudlike shapes to make a piece that's larger than the lid. 


I did this again, but made my second little cloud about the size of my lid. 

Repeat until you have 5 little cloud shapes, each one smaller than the last. 


Layer them on your lid, starting with the largest cloud, and finishing with the smallest, gluing each layer down as you go. Embellish the center, and you're finished. 


Now, throw some headbands over these puppies and get ready to feel a bit more organized!


Monday, November 26, 2012

{kitchen adventures} Sneaky Veggie Yogurt Pops


With the terrible twos quickly approaching and incisors growing in, I'm 100% serious when I say the healthiest thing I can currently get my toddler to eat is a popsicle. Before you go clicking the little x in the corner, you should know that these yummy yogurt pops have about 5 grams of protein. They're also packed with fiber, tons of potassium and vitamin C, and lots of iron, because each one contains about 3 TBSP of spinach. These also contain around 4g of sugar from fresh fruit, as opposed to a store bought popsicle, which can contain around 12g of sugar from high fructose corn syrup.

Even with winter approaching, these continue to be such a hit around here that I wanted to share the recipe. 

For the fruit/veggie portion, you could use any of the other puree recipes I have here, but I usually make my yogurt pops in strawberry banana flavor.

You'll need:
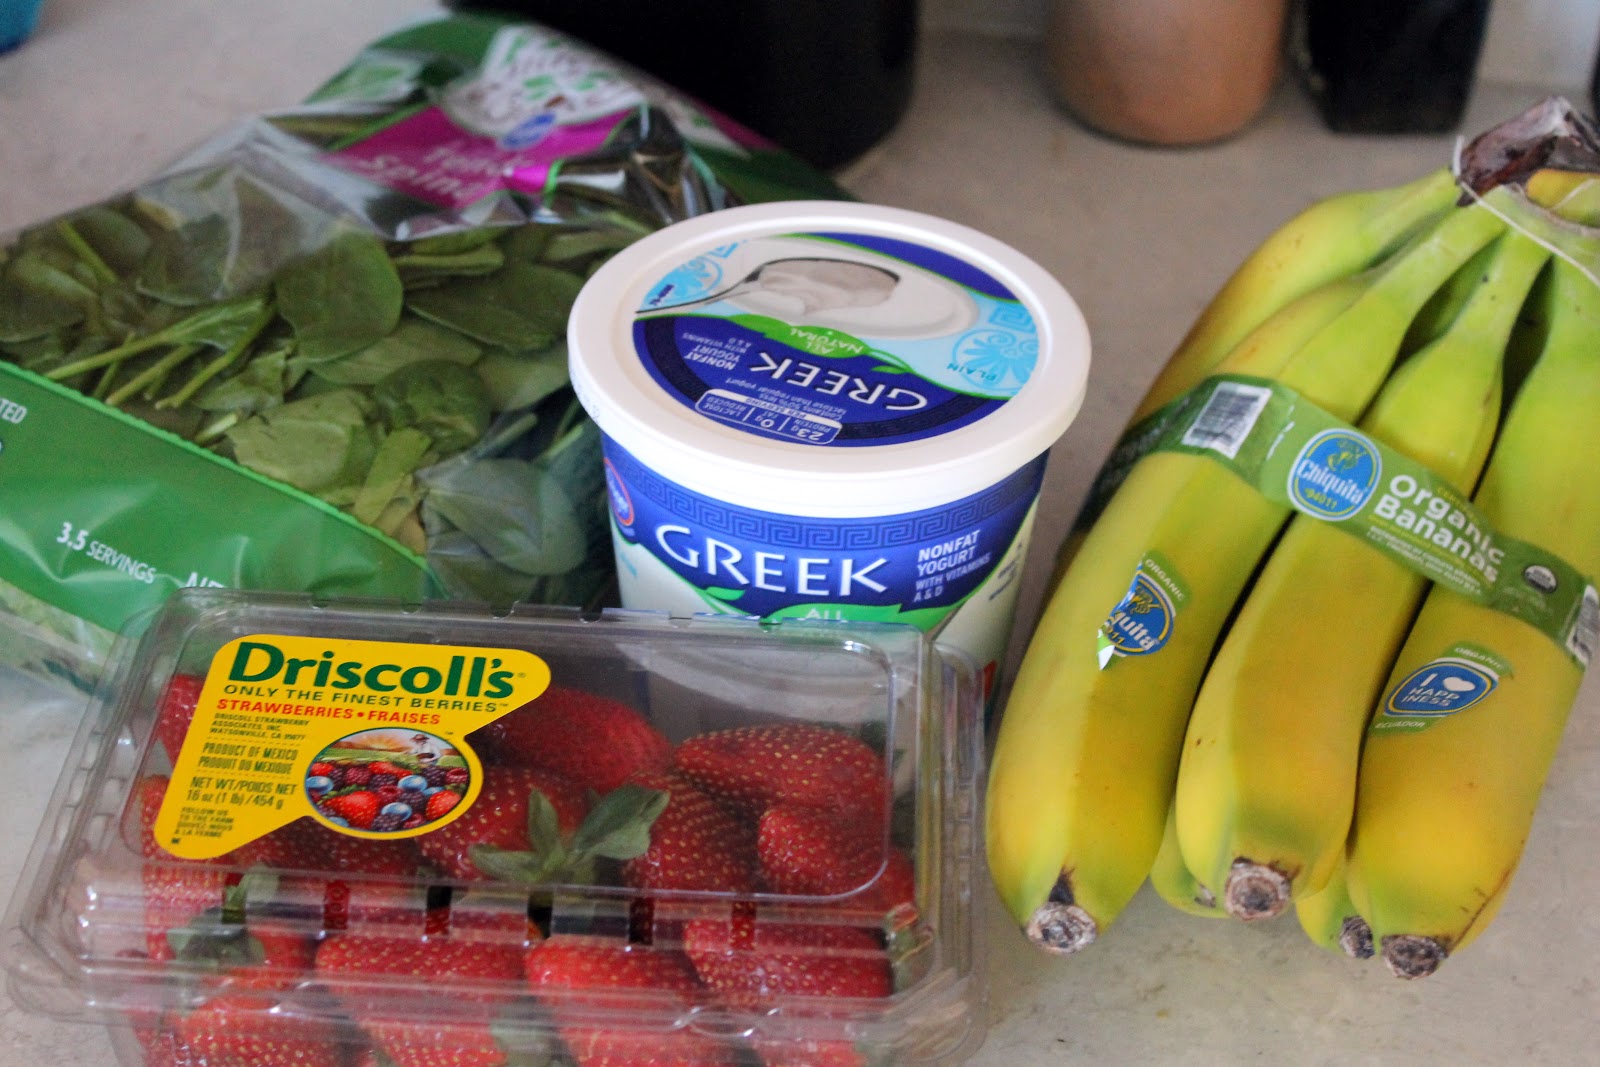
3 ripe bananas
2 heaping cups fresh spinach, rinsed
3/4 pint fresh strawberries, rinsed and stemmed
1.5 cups plain greek yogurt 


Since fat is such a key component to brain development in children and my child rarely eats enough of it, I like to get full fat greek yogurt when I can find it. However, you can also choose fat free or 2% depending on your needs. Just be sure to choose a brand that contains at least 24g of protein in a 1 cup serving.

Optionally, you can add a little honey, agave, or orange juice if you don't think these are sweet enough, but my little guy devours them just the way they are! Another great way to sweeten the recipe is to simply add an extra banana.


Start by sauteing the spinach in a little bit of olive or coconut oil. Again, I want to increase the healthy fat content of these as much as a I can, so I was really generous with the amount of olive oil I used. While the spinach is cooking, break the bananas in quarters and toss them in your food processor, along with your stemmed strawberries.

You'll want to saute the spinach just long enough that it starts to wilt.


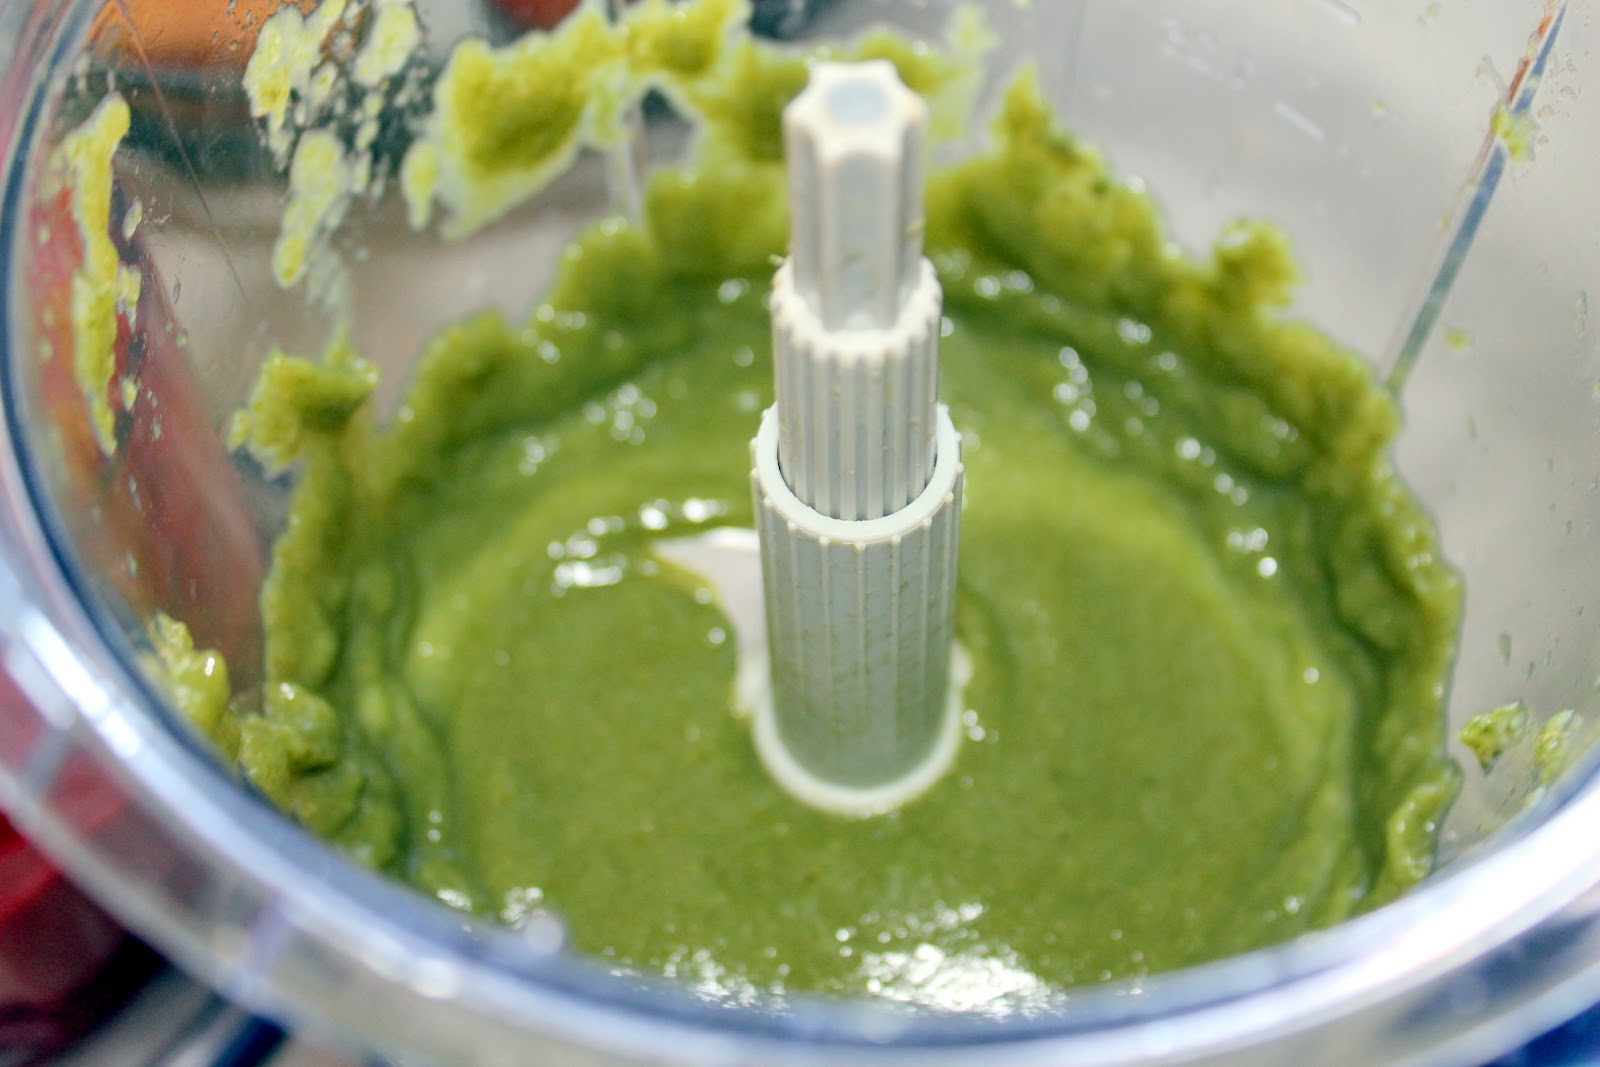
Once the spinach is finished cooking, toss it into the food processor with your fruit. Pulse and puree until smooth. 
 
Or let a little helper do the blending.


Add your yogurt and mix again until blended. 


At this point, you or your child can do a taste test. If the spinach flavor is too strong, you can add more strawberries. If you want it a bit sweeter, toss in an extra banana. You can also opt to sweeten with honey, agave, or orange juice if you'd like. Once the puree is to your kiddo's liking, pour into popsicle molds. I found these great ones for $1 at Ikea. This recipe made 12 pops of this size, so I needed to use 2 molds. 


Freeze at least 4 hours, and enjoy!


Just don't serve too cold.


Monday, March 12, 2012

{kitchen adventures} Homemade Baby Food Pouches With Fruits and Veggies.

Don't have a baby or toddler like this one? You should get one; they're great! In the meantime, these recipes can also make yummy, healthy fruit yogurts and smoothies for grown ups.


Pink Puree and Green Puree. Yum!


 Recently, we ran into a big problem. My veggie-loving baby turned into a toddler and decided to boycott anything that isn't a cracker or a banana.  I tried making veggies look like crackers. They were thrown on the floor. I tried baking them into crescent rolls. Those got picked out. I added them to soups and chilis. They were eaten around, and (I know it seems impossible, but)  I got sick of having chili every night. Pureeing vegetables and hiding them in pasta sauce was working alright, but giving my kid noodles and pasta sauce at every meal wasn't sensible either. 

I started buying these pouches from HAPPYBABY Organics,  and he loved them! But $2 a pouch can really add up, and my granola-loving side was concerned about feeding him processed food that wasn't homemade. I tried to make veggie purees like I did when he was just starting solids, but he didn't care for the taste, and he wasn't interested in anything he couldn't easily eat with his bare hands. 
Then a friend mentioned that she makes fruit and veggie combo purees and feeds them to her toddlers in squeeze bottles, so I decided to give it a try. I was only able to find a couple different products made specifically for squeezing out purees, and eventually decided on "The Sili Squeeze" reusable pouch, after another acquaintance ordered some for her children. For the record, this thing is awesome, and I would highly recommend it to anyone who wants to feed yogurt, purees, or smoothies on the go.

Now that I had the pouch, it was time to go to work. I started experimenting, and came up with these recipes, which all turned out to be big hits with the little guy. Every puree listed tastes like fruit rather than vegetables. And check out the colors! What kid doesn't love colorful food?

Pink Puree  (Loaded with Vitamin C,  Vitamin A, Iron, Potassium, and Calcium)
3 bananas
1 lb ripe strawberries
1 medium red beet


Green Puree  (Lots of Iron, Vitamins C & E, and Beta-Carotene)
5 medium pears
1.5 cups fresh baby spinach
2 mangoes

Orange Puree (A little bit of everything, rich in Omega-3s) 
5 medium yellow peaches
2 medium carrots
1/2 cup diced pineapple
1 banana
3/4 cup spinach
1 medium avocado


Purple Puree  (Tons of antioxidants, Iron, and Vitamin A)
4 bananas
6-8 oz fresh or frozen (no sugar added) blueberries
1 medium red or white beet


Prep: Once you have your ingredients, wash them. Remove peels, cores, and pits, and dice large fruits and veggies into 1-2 inch cubes. Defrost any frozen fruits.


Spinach, mangoes, and pears ready for steaming.

After 10 minutes, it's ready to go!


Steam: Spinach and anything firm (consistency of an apple) needs to be steamed. Any fruits that are very ripe should puree easily without steaming, but when in doubt, I just throw them in the steamer. Check periodically to make sure fruit isn't turning brown. Beets could take upwards of 30 minutes to steam, but anything else should be done steaming in 8-10 minutes.


Blend: After everything is steamed until tender, place fruits and vegetables into a blender or food processor and process until you reach a smooth, uniform consistency.


Pink Puree, finished and ready for storage.


Store: For food safety, it's recommended to immediately freeze any fresh purees you won't be using within 24-48 hours. One popular method is to make the purees into "ice" cubes using an ice cube tray, and transferring to a freezer bag within 12-24 hours. There are also products made specifically for freezing baby food, but I prefer 1/2 cup gladware containers. You can pick up 8 of these for about $2. I also like to transfer frozen purees into a freezer bag to save space. 


Feed! You've got several choices here, as there are lots of ways to prepare these.


For homemade baby food pouches: it's time to defrost these puppies and toss them into a squeeze bottle. *WARNING: Kids might ask to repeat this step multiple times. When I serve this as part of a meal, I just defrost the puree in a bowl and let him practice using his spoon to eat it. Either way, he can't get it into his mouth quickly enough.

Quick and easy smoothie: To change things up, mix 50/50 with some plain greek yogurt and your toddler's milk to add protein. Just leave the puree frozen and toss everything in a blender or food processor. For added carbohydrates or iron, toss in a few tablespoons of baby oatmeal. These are great for adult smoothies too, just try not to keep all the fruity goodness to yourself.

Healthy fruit yogurt: I've also stirred these into greek yogurt to make a healthy, homemade fruit yogurt for myself or the little man.